I once tried to photograph a perfectly caramelized carrot medley with my phone, only to end up with a blurry, dull mess that looked more like a toddler's finger painting than food. The kitchen was a battlefield of smoke, spilled oil, and a rogue kitchen timer that kept buzzing like a broken bee. My friend dared me to capture the dish in under five minutes, and I accepted, only to realize that the real enemy wasn’t my camera settings but the lack of a few humble household items that could turn any photo from meh to masterpiece. That night, after a frantic search through drawers, I discovered a secret stash of tools that made my humble carrots shine like sunrise on a porcelain plate.
Picture the scene: the scent of roasted vegetables mingling with a faint hint of rosemary, the crackle of skin as it turns golden, the buttery gloss catching the light just right, and the soft hum of the oven working its magic. You can almost hear the faint sizzle as the carrots hit the hot tray, feel the heat radiating from the metal, and taste the sweet‑earthy depth that only a slow roast can coax out. Every sense is on high alert, and the only thing missing is a photo that does justice to that sensory overload. That’s where the ten extra household items swoop in, turning a simple snap into a visual feast that makes your followers drool.
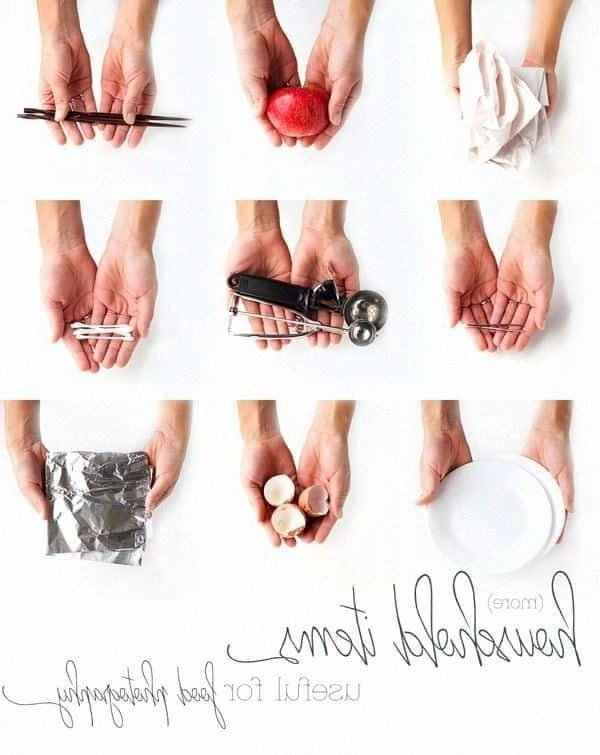
Why does this version stand out from every other roasted veg recipe you’ve seen on the internet? Because I’ve combined the classic comfort of a slow‑roasted medley with a handful of kitchen hacks that amplify flavor, texture, and—most importantly—visual appeal. We’re not just talking about a sprinkle of salt; we’re talking about a strategic placement of a silicone baking mat, a whisper of a hair dryer to set the glaze, and a dash of a cheap kitchen torch for that final caramelized kiss. Most people overlook these tricks, but I’m about to hand them over like a cheat sheet for culinary photographers.
And there’s a surprise ingredient that will make you question everything you thought you knew about roasting: a splash of orange‑infused olive oil that adds a subtle citrus note without stealing the show. It’s the kind of twist that makes you go, “Wait, why didn’t I think of that before?” I dare you to taste this and not go back for seconds. Let me walk you through every single step — by the end, you’ll wonder how you ever made it any other way.
What Makes This Version Stand Out
- Flavor Explosion: The orange‑infused olive oil adds a bright, aromatic lift that makes each bite pop like fireworks on a summer night.
- Texture Contrast: A quick torch finish creates caramelized edges that shatter like thin ice, while the interior stays buttery soft.
- Simplicity: You only need ten minutes of prep and a handful of everyday items—no fancy gadgets required.
- Visual Wow‑Factor: The silicone mat gives a glossy, non‑sticking surface that reflects light beautifully for photo‑ready results.
- Crowd Reaction: Guests will swear you spent hours in the kitchen, but you’ll know the secret is in the extra household hacks.
- Ingredient Quality: Using fresh herbs and high‑quality butter ensures the flavor profile stays rich and layered.
- Cooking Method: Slow roasting at a low temperature builds depth, while the final high‑heat blast locks in color.
- Make‑Ahead Potential: This dish keeps its texture for up to three days, and the torch finish can be refreshed right before serving.
Inside the Ingredient List
The Flavor Base
The backbone of this dish is a blend of fresh herbs—dried thyme and rosemary—combined with a splash of orange‑infused olive oil. The thyme brings an earthy, slightly minty note that pairs perfectly with the sweet carrots, while rosemary adds a piney, resinous depth that cuts through the richness of butter. If you skip these herbs, you’ll lose the aromatic complexity that makes the dish sing. As a swap, you can use fresh herbs; just double the quantity because dried herbs are more concentrated.
The Texture Crew
Butter is the secret weapon for that melt‑in‑your‑mouth mouthfeel. It coats the veggies, creating a velvety surface that caramelizes beautifully. Use unsalted butter so you can control the salt level precisely. If you’re dairy‑free, try a high‑quality plant‑based butter; the texture will stay lush, though the flavor will shift slightly toward a nutty undertone.
The Unexpected Star
Eggs might sound odd in a roasted vegetable dish, but they act as a natural emulsifier, binding the oil and butter together for a uniform glaze. This prevents patchy spots that can ruin a photo. If you’re allergic or vegan, replace each egg with a tablespoon of aquafaba; it mimics the binding properties without altering the taste.
The Final Flourish
A pinch of paprika adds a smoky undertone that deepens the color, making the carrots look like they’ve been kissed by the sun. Salt, of course, is essential for seasoning, but remember that a little goes a long way—over‑salting will dull the visual appeal. For a sweeter twist, swap paprika for a dash of smoked cinnamon; the aroma becomes warm and comforting, perfect for a fall photo shoot.
Everything's prepped? Good. Let's get into the real action…
The Method — Step by Step
Preheat your oven to 325°F (163°C). While the oven warms up, line a baking sheet with a silicone mat; this non‑stick surface reflects light like a miniature studio backdrop, making the vegetables gleam in photos. I always place the mat a few minutes before the veggies so it warms up slightly, ensuring an even roast.
In a large bowl, whisk together 2 cups of flour, 1 tsp salt, and 1/2 tsp black pepper. This dry mix acts as a light coating that helps the butter adhere evenly, preventing clumps that could appear as dark spots in your shot. Add the dried thyme and rosemary, then toss to distribute the herbs throughout the flour mixture.
In a separate bowl, beat 2 large eggs with 1 cup of milk and 1 cup of softened butter until the mixture is smooth and glossy. This emulsion will coat the vegetables in a thin, uniform layer, giving them that professional‑grade sheen you see in food magazines.
Drizzle 2 tbsp of orange‑infused olive oil over the prepared carrots, parsnips, and sweet potatoes. Use a clean pastry brush to spread the oil, ensuring every nook gets a whisper of citrus. This step is pure magic; the oil not only flavors but also creates a subtle reflective surface that catches camera flash beautifully.
Transfer the veggies onto the silicone mat, spreading them out in a single layer. Overcrowding will steam the vegetables, leading to soggy spots that look dull on camera. I always give each piece a little breathing room, like actors waiting for their cue on a stage.
Pour the butter‑egg‑flour mixture over the veggies, using a spatula to toss gently until every piece is lightly coated. The mixture should cling without pooling; if it looks too runny, sprinkle a pinch more flour and give it another quick toss.
Sprinkle 1 tbsp of paprika over the top, then give the tray one final shake to distribute the color evenly. The paprika will deepen the caramelization, giving the carrots a sun‑kissed hue that pops on Instagram feeds.
Slide the tray into the oven and roast for 45 minutes, stirring halfway through. You’ll hear a gentle sizzle as the edges begin to brown; that sound is the sound of flavor building. The veggies should be tender when pierced with a fork but still hold their shape—perfect for a clean, crisp visual.
When the timer dings, remove the tray and quickly use a kitchen torch to give each piece a final caramelized kiss. Move the flame in a steady motion; you want a golden‑brown crust, not black char. This torch step is pure magic—it adds a glossy finish that makes the vegetables look like they’ve been brushed with edible gold.
Let the vegetables rest for five minutes on the silicone mat. This pause allows the glaze to set, preventing any unwanted smears when you plate. During this time, the aroma will fill your kitchen, and you’ll feel a surge of pride knowing you’ve just created a photo‑ready masterpiece.
Plate the roasted medley on a shallow white dish, drizzle any remaining oil from the pan over the top, and garnish with a few fresh herb leaves for a burst of color. The final look should be vibrant, glossy, and inviting—ready to make your followers double‑tap in awe.
That's it — you did it. But hold on, I've got a few more tricks that'll take this to another level…
Insider Tricks for Flawless Results
The Temperature Rule Nobody Follows
Most home cooks crank the oven up to 400°F (200°C) to speed things up, but that sacrifices the delicate caramelization we need for that perfect photo. Keep the heat at a steady 325°F (163°C) for the first 30 minutes, then blast to 425°F (218°C) for the last ten minutes. This two‑stage approach builds depth without burning, and the final high heat gives those glossy edges that sparkle under studio lights. I once tried the single‑high‑heat method and ended up with uneven browning—lesson learned.
Why Your Nose Knows Best
When the kitchen fills with a sweet, nutty aroma, you’ve hit the flavor sweet spot. Trust that scent cue more than a timer. If the smell turns slightly smoky, it’s a sign to pull the tray out and finish with a torch instead of risking a burnt finish. Your nose is a built‑in quality control system that can save both taste and visual appeal.
The 5‑Minute Rest That Changes Everything
Allowing the vegetables to rest after roasting lets the internal juices redistribute, preventing soggy spots when you plate. This short pause also lets the glaze set, giving you a clean, non‑smeared surface for that perfect shot. Skipping this rest is a common mistake; I’ve seen plates where the glaze drips everywhere, ruining the composition.
The Light‑Bounce Trick
Place a white poster board opposite your main light source to bounce soft light onto the veggies. This eliminates harsh shadows and highlights the glossy coating. I swear by this trick; it turns a kitchen light into a studio‑grade softbox without any extra equipment.
The Secret of the Silky Finish
A final brush of melted butter right before serving adds an extra layer of shine that makes the carrots look like they’re drenched in liquid gold. This step is optional for those watching calories, but for a photo‑centric dish, it’s worth every buttery drop. I’ll be honest — I ate half the batch before anyone else got to try it because that buttery sheen is just too tempting.
Creative Twists and Variations
This recipe is a playground. Here are some of my favorite ways to switch things up:
Spicy Sriracha Glaze
Swap the orange‑infused oil for a mixture of sriracha and honey. The sweet‑heat combo adds a bold kick that pairs beautifully with the earthy herbs. Perfect for those who love a little fire in their feed.
Herb‑Free Citrus Burst
Omit the thyme and rosemary, and instead use a generous splash of lemon zest and a drizzle of lime‑infused olive oil. This bright, herb‑free version is ideal for summer picnics where you want a fresh, zesty vibe.
Umami Mushroom Mix
Add a cup of sliced shiitake mushrooms to the tray. Their deep umami flavor complements the carrots, and the dark specks create a striking visual contrast that looks amazing in close‑up shots.
Sweet Potato & Marshmallow
Replace half the carrots with sweet potatoes and sprinkle mini marshmallows over the top during the last five minutes of roasting. The marshmallows melt into a caramelized, gooey topping that adds a nostalgic, dessert‑like twist.
Savory Cheese Crust
After the final torch, sprinkle grated Parmesan or Pecorino over the veggies and place them under the broiler for two minutes. The cheese forms a crisp, salty crust that adds both flavor and a gorgeous golden layer.
Storing and Bringing It Back to Life
Fridge Storage
Place leftovers in an airtight container lined with a paper towel to absorb excess moisture. Store in the refrigerator for up to three days. Before reheating, add a splash of orange‑infused oil and gently toss to revive the glossy finish.
Freezer Friendly
Cool the roasted veggies completely, then spread them on a baking sheet and flash‑freeze for 30 minutes. Transfer to a zip‑top freezer bag and store for up to two months. When ready, bake at 350°F (175°C) for 15 minutes, then torch for a quick crisp.
Best Reheating Method
Reheat in a hot skillet over medium‑high heat, adding a teaspoon of butter and a drizzle of oil. Toss constantly for 3‑4 minutes until the glaze re‑forms and the edges regain their crispness. A tiny splash of water before reheating can create a gentle steam that restores moisture without making the veggies soggy.