I was staring at my pantry, feeling the familiar sting of a sweet tooth that had somehow slipped into the middle of a health‑focused week. The kitchen was a chaotic symphony of clanging pans and the faint scent of burnt sugar from last night’s attempt at a classic chocolate brownie. I dared myself to create something that would satisfy that craving without the sugar crash, and the result is a silky, fudgy treat that feels like a secret indulgence you’re allowed to share. Imagine biting into a brownie that melts in your mouth, leaving a lingering chocolate aftertaste that’s not overpowering, but just enough to make you smile.
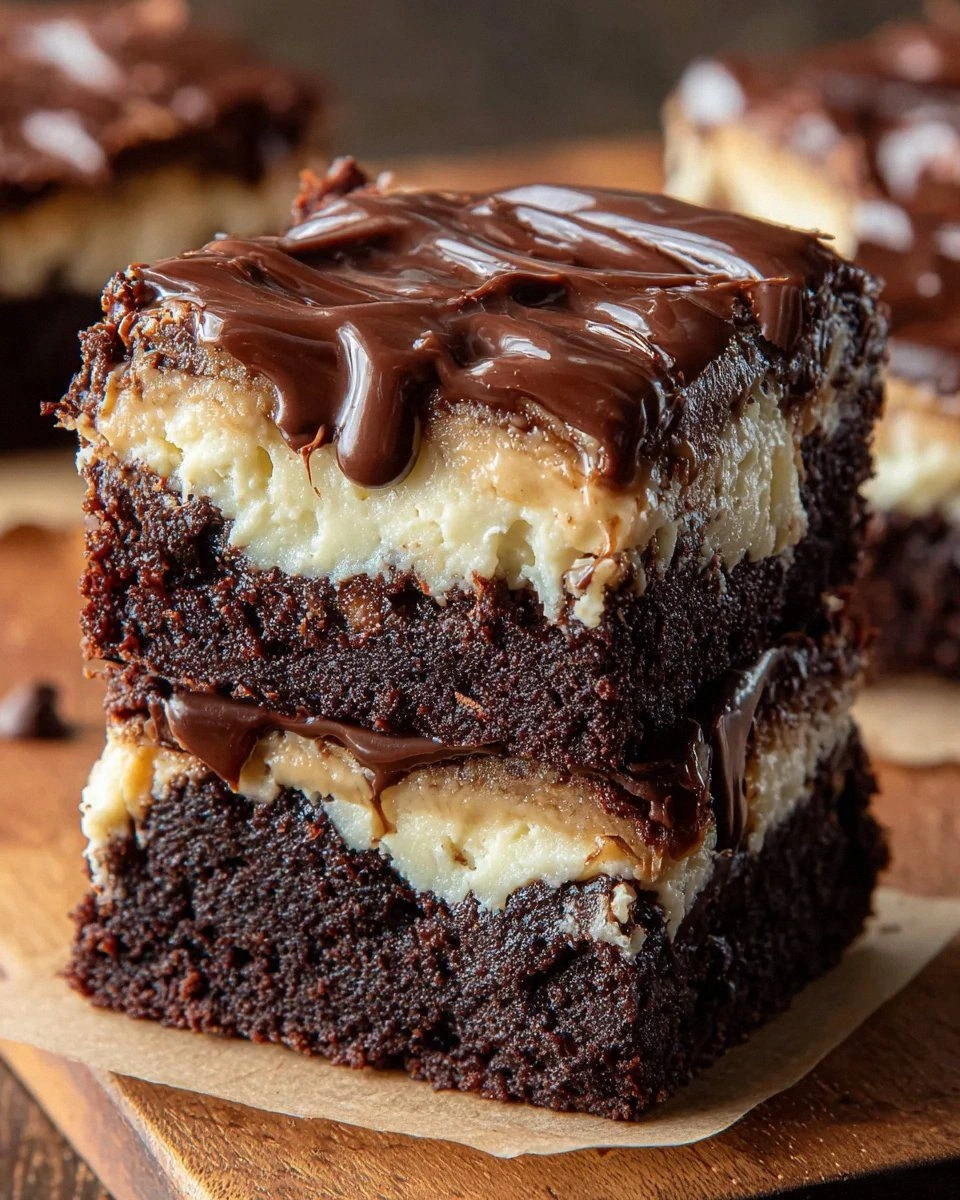
Picture the moment you pull the pan out of the oven: the kitchen is filled with a warm, almost buttery aroma that drifts from the counter to the living room. The brownies look glossy, with a slightly crackly top that hints at a moist interior. As you lift a piece, the chocolate coating clings like velvet, and the first bite releases a gentle crunch that quickly gives way to a dense, gooey center. The texture is a sweet compromise between a brownie and a brownie‑bar, where each bite feels both indulgent and surprisingly light. This is the kind of experience that makes you want to pause, savor, and then, yes, I dare you to taste this and not go back for seconds.
What sets this version apart is the strategic use of Greek yogurt, which not only cuts down on fat but also adds a tang that balances the chocolate’s richness. The sugar substitute keeps the sweet spot just right, while the unsweetened almond milk maintains moisture without adding calories. Dark chocolate chunks provide that deep, bittersweet bite that keeps the flavor profile complex. The baking soda works in harmony with the acidic yogurt, creating a subtle lift that makes the brownies airy without the need for eggs. And the best part? All of this comes together with a handful of pantry staples, making it a go‑to recipe for any night when you need a quick, guilt‑free treat.
I’ll be honest—when I first baked these, I ate half the batch before anyone else got to try them. The combination of creamy yogurt and chocolate chips was so irresistible that I could barely resist the urge to finish the entire pan. That’s the power of this recipe: it’s hands down the best version you'll ever make at home, and it’s a game‑changer for anyone looking to satisfy a sweet tooth without the sugar spike. Picture yourself pulling this out of the oven, the whole kitchen smelling incredible, and then sharing it with friends who’ll ask for the recipe. Let me walk you through every single step—by the end, you'll wonder how you ever made it any other way.
What Makes This Version Stand Out
- Flavor: The blend of dark chocolate and Greek yogurt creates a rich, complex profile that satisfies without overloading the palate. The slight tang from the yogurt cuts through the chocolate’s bitterness, leaving a balanced finish.
- Texture: These brownies are fudgy yet firm, with a crackly top that gives way to a moist interior. The use of almond milk keeps the batter hydrated, preventing dryness.
- Simplicity: No eggs, no butter, and no flour substitutions—just pantry staples that you likely already own. The process is straightforward, making it a stress‑free baking experience.
- Health‑Focused: Zero added sugar and a low‑calorie profile make this dessert a perfect companion for a balanced diet or a post‑workout snack.
- Crowd‑Pleaser: Even the most skeptical dessert lovers will fall in love with the chocolate depth and creamy mouthfeel. The brownies are a conversation starter at gatherings.
- Ingredient Quality: Using high‑quality dark chocolate and fresh Greek yogurt ensures that the final product is premium without the premium price tag.
- Make‑Ahead Potential: These brownies keep well for up to a week in the fridge and freeze beautifully, making them ideal for meal prep or to share with friends.
- Versatility: The base can be customized with nuts, fruit, or spices, allowing endless variations while keeping the core flavor intact.
Inside the Ingredient List
The Flavor Base
Dark chocolate is the cornerstone of any brownie. The 0.5 cup of chopped dark chocolate infuses the batter with a deep, bittersweet undertone that balances the sweetness from the sugar substitute. Skipping this step would leave the brownies feeling flat and overly sweet. If you prefer a milder chocolate flavor, use a 70% cocoa dark chocolate; it will still deliver richness without overpowering.
The Texture Crew
Greek yogurt and almond milk work in tandem to create that signature fudgy mouthfeel. The yogurt adds protein and a slight tang, while the almond milk keeps the batter moist without adding dairy fat. If you’re lactose intolerant, swap the yogurt for coconut yogurt; it will alter the flavor profile slightly but keep the texture intact. The baking soda, though only 0.5 tsp, reacts with the yogurt’s acidity, giving the brownies a gentle lift and preventing them from becoming too dense.
The Unexpected Star
Unsweetened cocoa powder is the unsung hero that deepens the chocolate flavor without adding sugar. A tablespoon of cocoa powder can dramatically enhance the overall taste, but the recipe uses 0.5 cup to keep the batter thick and rich. If you’re in the mood for a chocolatey kick, add an extra tablespoon of cocoa; it will intensify the flavor without compromising the texture.
The Final Flourish
Sugar‑free chocolate chips add bursts of chocolate throughout the brownies, creating pockets of gooey delight. They also help to keep the batter from sticking to the pan, making cleanup a breeze. If you’re feeling adventurous, try swapping them for dark chocolate chunks or even a handful of chopped nuts for added texture.
Everything's prepped? Good. Let's get into the real action...
The Method — Step by Step
- Preheat your oven to 350°F (175°C) and line an 8‑inch square pan with parchment paper, leaving an overhang on two sides for easy lift‑out. In a medium bowl, whisk together 0.75 cup all‑purpose flour, 0.5 cup unsweetened cocoa powder, 0.5 tsp baking soda, and a pinch of salt. This dry mix should look like a fine, even powder; any lumps will translate to uneven texture in the final product. The moment you hear that first crackle of the oven, you know the base is ready.
- Melt 0.5 cup chopped dark chocolate in a double boiler or microwave in 20‑second bursts, stirring each time until silky smooth. The chocolate should be glossy and free of streaks, indicating it’s fully melted. Be careful not to over‑heat; overheating can cause the chocolate to seize and become gritty. Once melted, set aside to cool slightly—this will prevent the yogurt from curdling when combined.
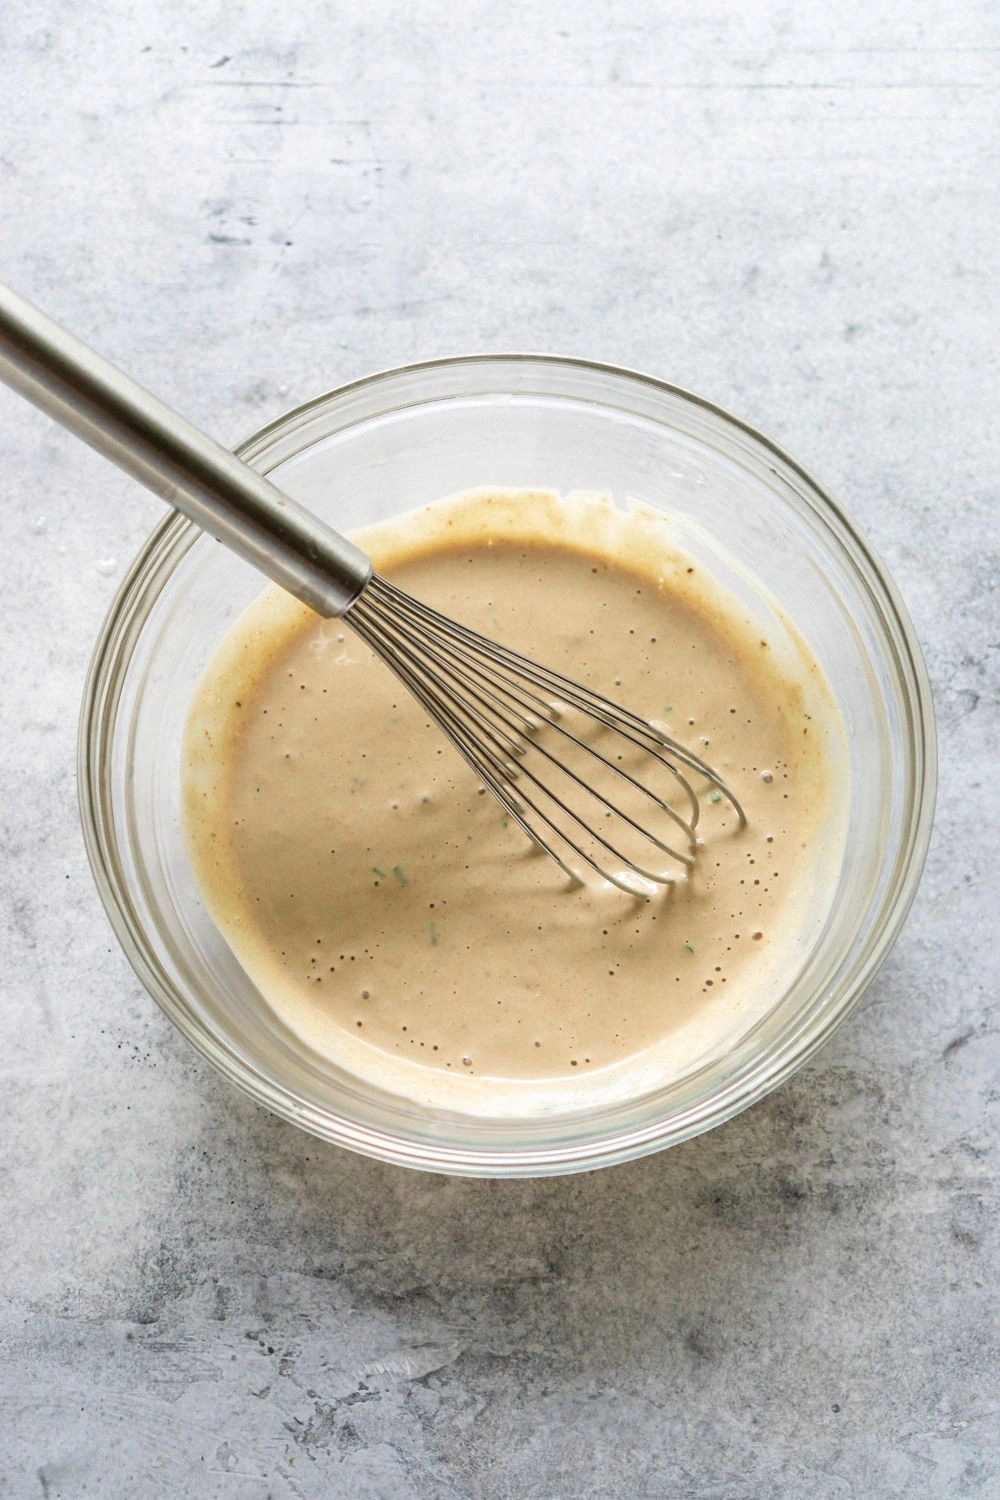
- In a separate large bowl, combine 1 cup plain Greek yogurt, 0.5 cup unsweetened almond milk, and 0.5 cup granulated sugar substitute. Whisk until the mixture is smooth and the sugar is fully dissolved. The consistency should be pourable yet thick enough to hold its shape when spooned onto the pan. This wet mixture will carry the flavors and bind the batter together.
- Fold the melted chocolate into the yogurt mixture, ensuring it’s evenly distributed. Then, gradually stir in the dry ingredients, mixing just until combined; over‑mixing can develop gluten and produce a tough brownie. The batter should be thick but pourable, with a glossy sheen that indicates the chocolate has fully incorporated. This is the moment of truth—your batter should feel like a dense, chocolate‑laden custard.
- Gently fold in 1 cup sugar‑free chocolate chips, distributing them evenly throughout the batter. The chips should be scattered like hidden treasures, ensuring each bite has a surprise burst of chocolate. If you prefer a smoother texture, you can reduce the number of chips to half, but the original recipe delivers that classic “chip in every bite” experience.
- Pour the batter into the prepared pan, using a spatula to spread it evenly. Tap the pan gently on the counter to release any air bubbles, then use a knife to level the top. This step is crucial—any trapped air will cause uneven rise and a lumpy finish. Watch Out: if you leave the batter too thick, the brownies will overcook on the edges while remaining raw in the center.
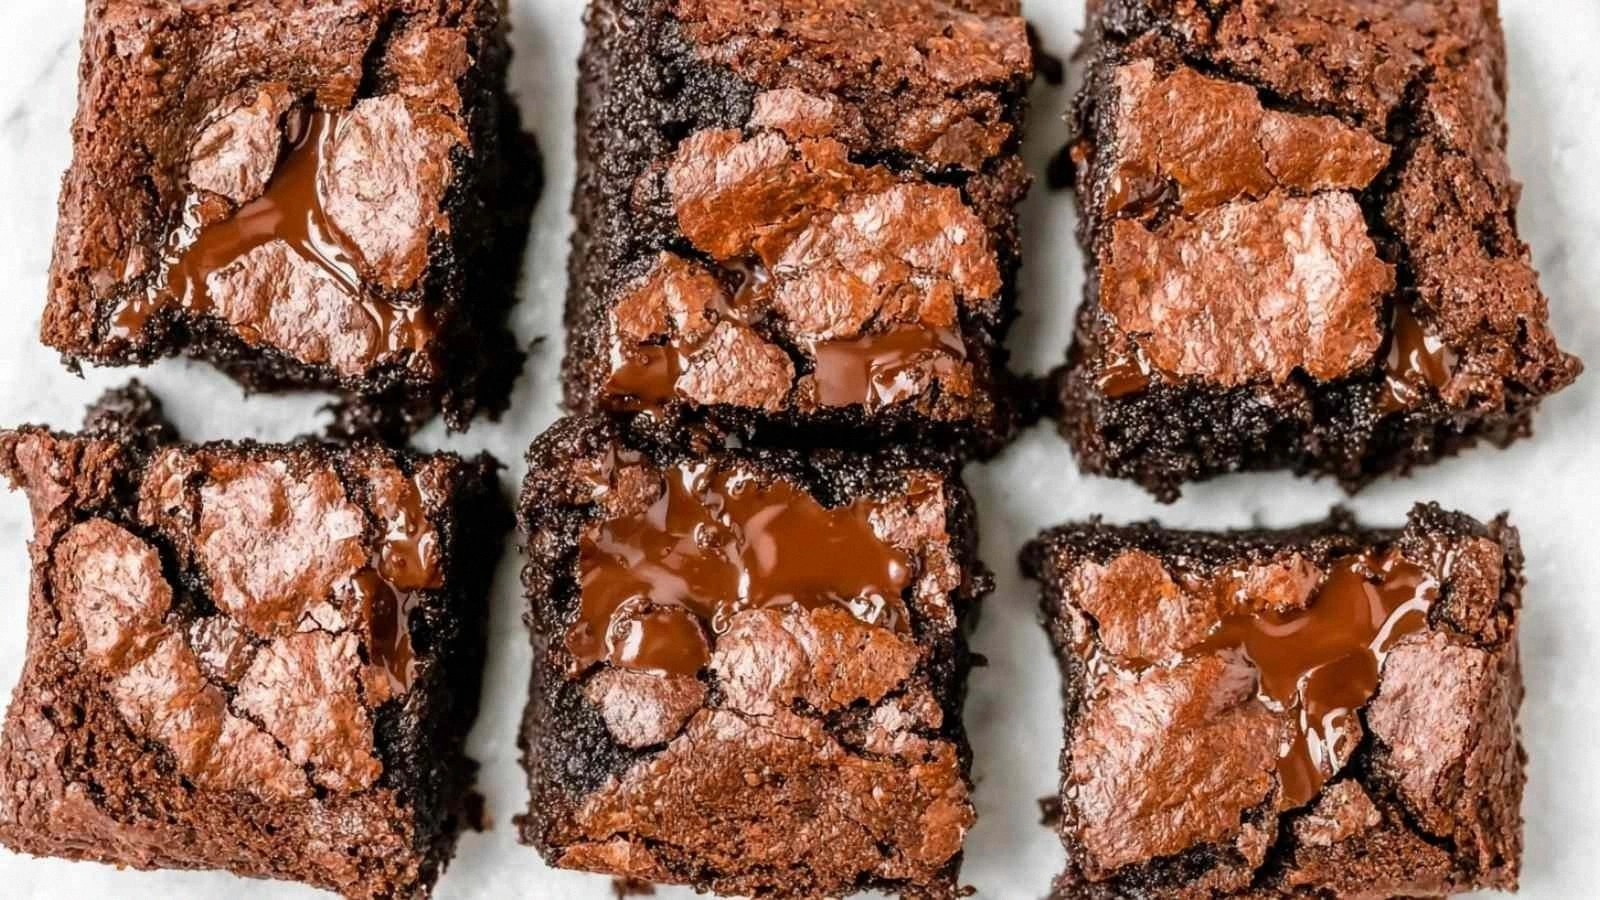
- Bake for 25–30 minutes, or until the edges are set and a toothpick inserted near the center comes out with a few moist crumbs. The brownies will look slightly under‑baked at the center—this is intentional, as they will continue to set as they cool. When the oven door opens, you’ll notice a sweet, chocolatey aroma that makes the kitchen feel like a cozy bakery. Let the brownies sit in the pan for 10 minutes before lifting them with the parchment overhang.
- Transfer the pan to a wire rack and let the brownies cool completely before cutting. Cooling allows the flavors to meld and the texture to set, giving you that perfect bite. Slice into squares or bars, depending on your preference, and serve at room temperature or chilled. The brownies maintain their fudgy consistency even after a few hours, making them a great make‑ahead treat.
That's it — you did it. But hold on, I've got a few more tricks that'll take this to another level...
Insider Tricks for Flawless Results
The Temperature Rule Nobody Follows
While the recipe calls for a moderate 350°F, many bakers bake at higher temperatures, resulting in a hard crust. Keeping the oven at 350°F allows the brownies to rise evenly and develop a moist interior. If your oven runs hot, pre‑heat a baking stone or use a lower temperature to compensate. This small tweak can make the difference between a chewy and a crumbly brownie.
Why Your Nose Knows Best
When the brownies are baking, the aroma will change from sweet to slightly caramelized. Use this scent as a cue: if it smells like toasted sugar, the brownies are ready. Trusting your nose prevents over‑baking and keeps the texture perfect. A friend once over‑baked a batch, and the brownies turned out dry and rubbery; the lesson was clear—listen to the scent.
The 5‑Minute Rest That Changes Everything
After removing the pan from the oven, let the brownies rest for at least five minutes. This pause allows the steam to redistribute, preventing a hollow center. If you cut right away, the chocolate chips may sink, creating uneven distribution. The rest also lets the brownies set, making them easier to cut cleanly.
Use a Silicone Baking Sheet
A silicone sheet provides a non‑stick surface that keeps the brownies from sticking, even when you add extra chocolate chips. It also heats evenly, preventing hot spots that can burn the edges. If you’re using a metal pan, consider lining it with parchment to achieve the same effect.
Cool on a Wire Rack
Cooling on a wire rack allows air to circulate around the entire brownie, preventing a soggy bottom. This method also keeps the brownies from sticking to the pan, making slicing a breeze. If you lack a rack, let them cool on a flat surface but be careful not to stack them; airflow is essential.
Add a Splash of Water Before Reheating
When reheating leftover brownies, add a tiny splash of water to the pan before microwaving. This steams the brownies, restoring moisture and preventing them from becoming dry. A friend tried reheating without water, and the brownies felt like cardboard; the water trick saved the day.
Creative Twists and Variations
This recipe is a playground. Here are some of my favorite ways to switch things up:
Nutty Crunch
Add ½ cup chopped walnuts or pecans to the batter for a crunchy texture that contrasts with the fudgy interior. The nuts also add a subtle earthy flavor, making each bite more complex. Serve with a drizzle of honey for a sweet‑savory combo.
Spiced Delight
Stir in ¼ tsp cinnamon and a pinch of cayenne pepper for a warm, spicy kick. The spices complement the chocolate, creating a layered flavor profile that’s perfect for autumn or winter evenings.
Citrus Zest
Add 1 tsp lemon zest to the batter for a bright, fresh note that cuts through the richness. The citrus also helps to brighten the overall taste, making the brownies feel lighter without compromising the fudgy texture.
Vegan Upgrade
Swap the Greek yogurt for coconut yogurt and the almond milk for oat milk. These plant‑based alternatives keep the texture moist and the flavor profile intact while making the brownies fully vegan.
Berry Burst
Fold in ½ cup fresh or frozen blueberries before baking. The berries will burst into sweet juices, adding a pop of color and a hint of tartness that balances the chocolate.
Minty Fresh
Add 1 tsp peppermint extract to the batter for a cool, minty undertone. The mint pairs wonderfully with chocolate, creating a refreshing twist that’s perfect for summer gatherings.
Storing and Bringing It Back to Life
Fridge Storage
Store brownies in an airtight container at room temperature for up to 4 days. The airtight seal prevents moisture loss, keeping the brownies fresh and chewy. For longer freshness, keep them in the fridge; they’ll stay good for up to a week.
Freezer Friendly
Wrap individual brownies in plastic wrap, then place them in a freezer bag. Freeze for up to 3 months. When ready to enjoy, let them thaw at room temperature for 15 minutes before serving.
Best Reheating Method
Reheat in the microwave on medium power for 15–20 seconds, or in a preheated oven at 300°F for 5 minutes. Add a tiny splash of water to the pan before microwaving; it steams the brownies and restores moisture. This method keeps them soft and indulgent, almost as good as freshly baked.