Picture this: it’s a Friday night, the TV is blaring the latest binge‑worthy series, and you’ve got a craving that’s louder than the opening credits. You reach for the bag of store‑bought nachos, only to remember you’re on a keto plan, and the thought of carbs makes your stomach do a little protest dance. I’ve been there—standing in the pantry, staring at a mountain of cheese packets and a half‑cooked slab of bacon, wondering if there’s a way to get that crunchy, salty, melt‑in‑your‑mouth experience without the guilt. That night, after a failed attempt that left my kitchen smelling like burnt cheese and my friends giving me the “nice try” look, I decided to go back to the drawing board and create the ultimate cheat‑free nacho chip.
The kitchen was a battlefield of sizzling pans, a symphony of crackling bacon, and the intoxicating aroma of melted cheese that made my neighbors peek through the window. I could hear the faint hum of the refrigerator, the occasional clink of a spoon against a bowl, and the rhythmic thump of my heart as I whisked the cheese into a golden, glossy batter. The moment the mixture hit the hot sheet pan, a sizzle erupted that sounded like applause—this was the sound of victory. The chips emerged, crisp as fresh snow on a winter morning, yet warm enough to melt the cheese on top like a gentle sunrise.
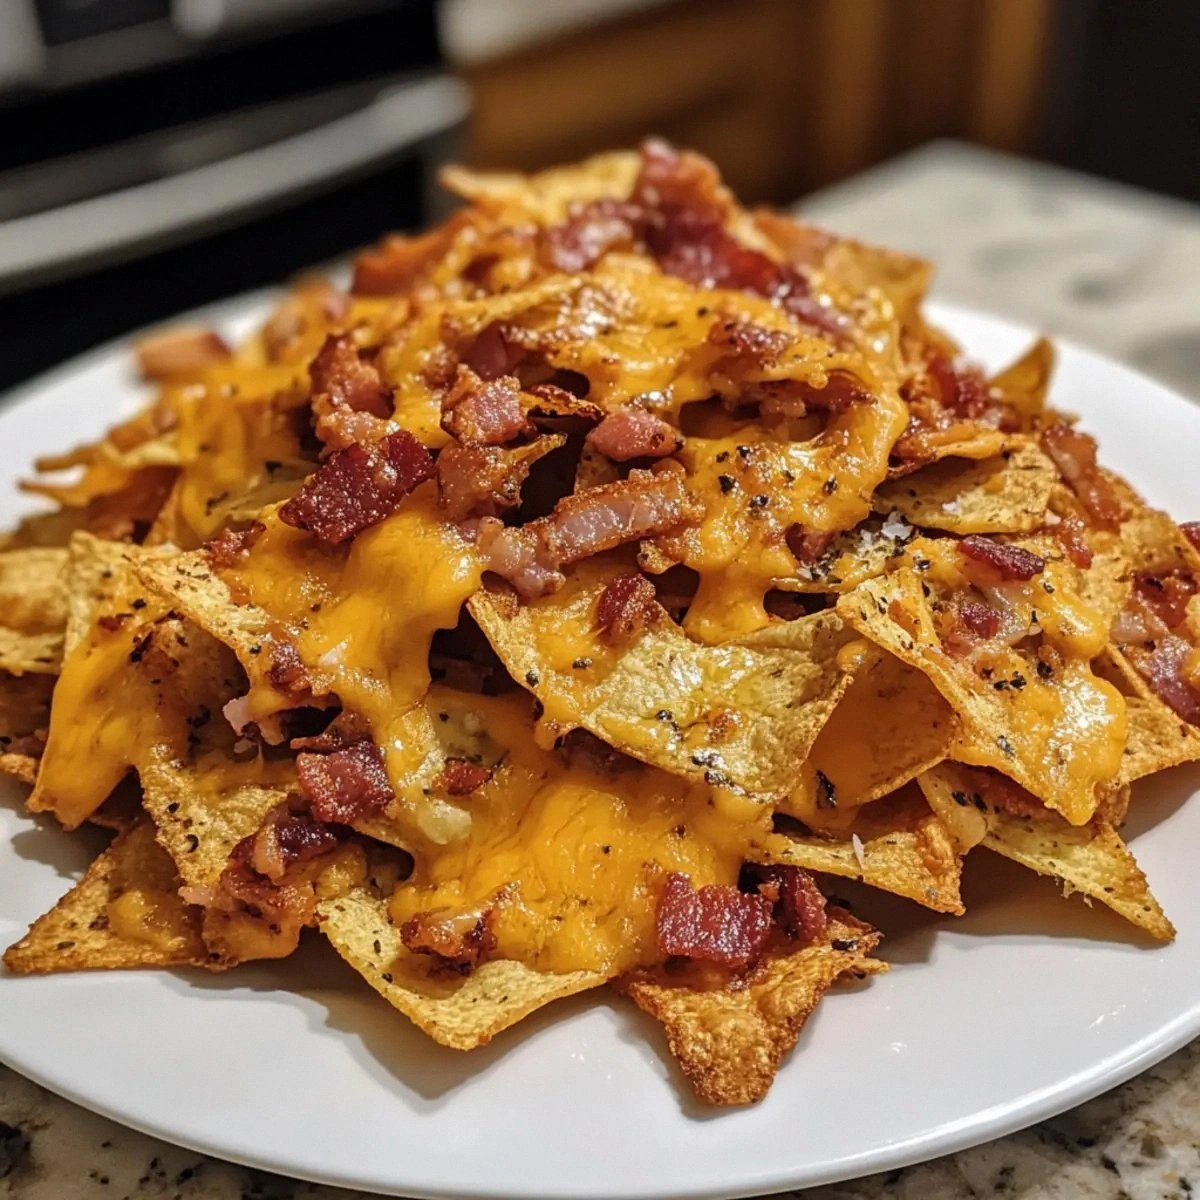
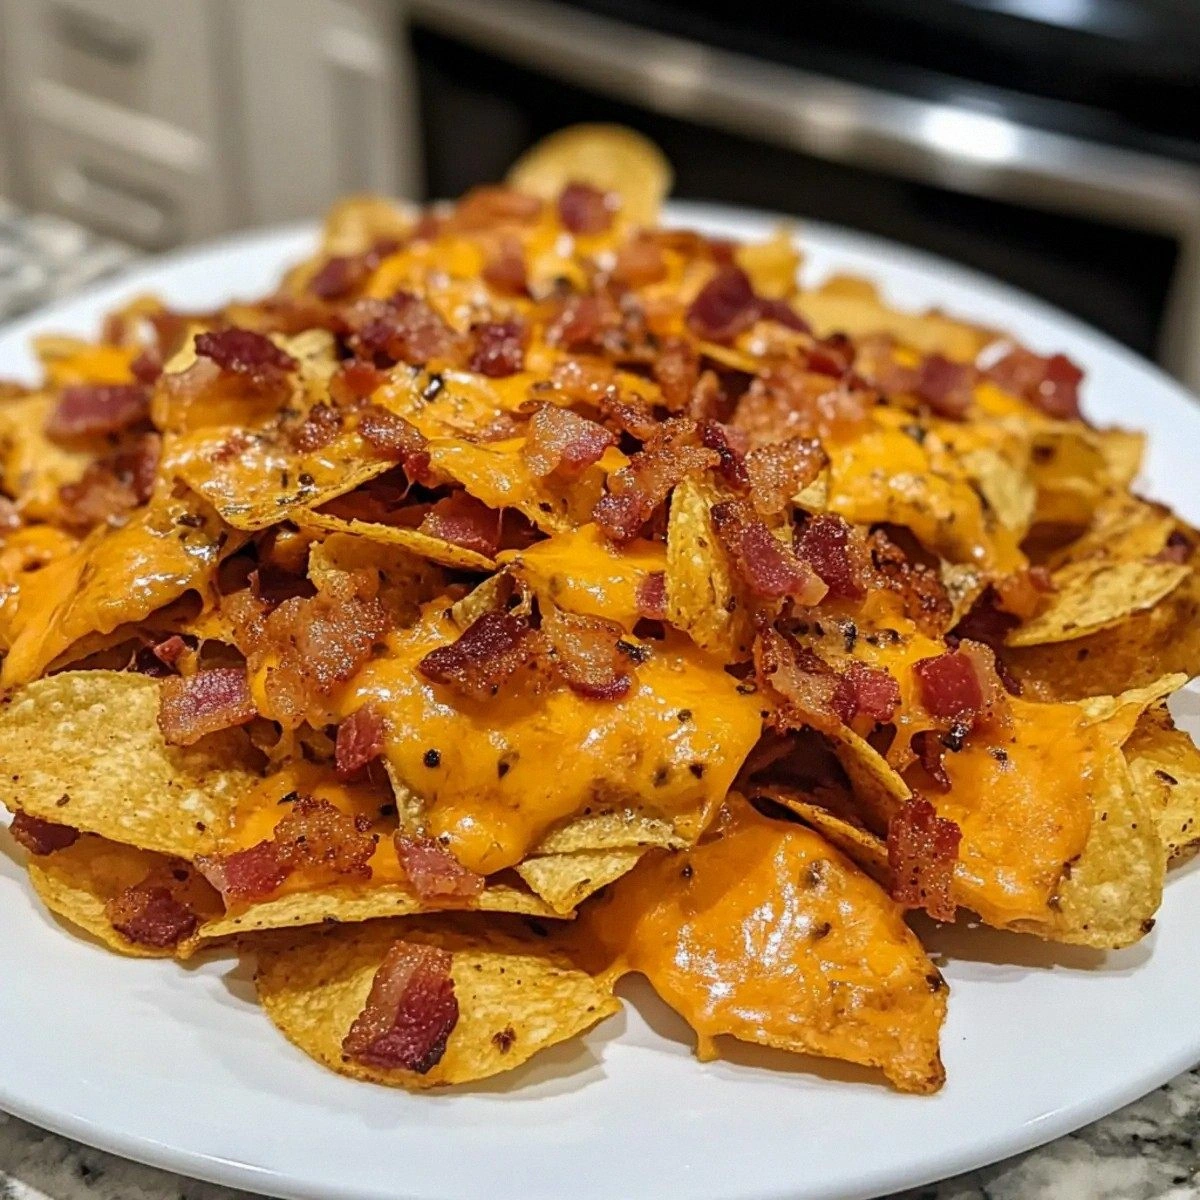
What sets this version apart from every other “keto nacho” hack you’ve ever tried is the daring combination of two premium cheeses, the smoky crunch of bacon, and a texture that walks the line between chip and melt‑in‑your‑mouth cloud. Most recipes either over‑bake, turning the chips into charcoal, or under‑bake, leaving them soggy and sad. I’ve cracked the code with a precise temperature and a secret ingredient that you won’t see coming—just a pinch of baking powder that gives the chips a lift, making them airy without compromising that satisfying crunch.
And here’s the kicker: I dare you to taste this and not go back for seconds. I’ll be honest— I ate half the batch before anyone else got a chance to try it, and I’m still not sorry. This is hands down the best version you’ll ever make at home, and I’m about to walk you through every single step—by the end, you’ll wonder how you ever made it any other way.
What Makes This Version Stand Out
- Flavor Explosion: The marriage of Emmental’s nutty depth and Cheddar’s sharp bite creates a flavor profile that dances on the palate like a salsa‑filled fiesta.
- Texture Triumph: Each chip boasts a crisp edge that shatters like thin ice while the center stays tender, delivering a satisfying bite from start to finish.
- Simplicity Mastered: With only six core ingredients and a single sheet pan, the process is so straightforward even a kitchen novice can nail it.
- Unique Lift: A dash of baking powder gives the chips a subtle puff, preventing them from turning into dense cheese bricks.
- Crowd‑Pleaser: The moment you pull these golden nuggets out of the oven, the whole room leans in, noses twitching, eyes widening—instant applause.
- Ingredient Quality: Using freshly grated Emmental and sharp Cheddar ensures melt‑in‑your‑mouth richness you can’t fake with pre‑shredded mixes.
- One‑Pan Wonder: No mess, no fuss—just a sheet pan, a whisk, and the magic of heat turning simple ingredients into a gourmet snack.
- Make‑Ahead Magic: These chips store beautifully, staying crisp for days, so you can prep a batch ahead of game night or a movie marathon.
Inside the Ingredient List
The Flavor Base
Grated Emmental Cheese: This Swiss classic brings a buttery, nutty undertone that balances the sharper Cheddar. If you skip it, you lose that subtle earthiness that makes each bite feel layered. A good tip: buy a small block and grate it yourself—pre‑shredded cheese often contains anti‑caking agents that can affect texture.
Grated Cheddar Cheese: The star of the show, Cheddar adds a sharp, tangy bite that cuts through the richness of the bacon. Opt for a sharp or extra‑sharp variety for maximum flavor impact. If you’re out of Cheddar, a mix of Monterey Jack and a pinch of smoked paprika can mimic the depth.
The Texture Crew
Bacon: Crisped to perfection, bacon provides smoky crunch and a salty punch that elevates the chip from snack to indulgence. Render it first, then crumble—this ensures every bite has that satisfying snap. For a leaner version, turkey bacon works, but expect a milder flavor.
Guacamole: This creamy, avocado‑rich dip adds a cool contrast to the hot, cheesy chips, creating a mouthfeel that’s both smooth and refreshing. If you’re short on time, a store‑bought guac with no added sugars works fine, but homemade is always superior.
The Unexpected Star
Homemade Salsa: Fresh tomatoes, onions, and a hint of jalapeño bring acidity that cuts through the fat, keeping the palate from feeling overwhelmed. Skipping the salsa means missing out on that bright, zesty lift. You can swap in a roasted red pepper sauce for a sweeter twist.
The Final Flourish
Sour Cream: A dollop of cool sour cream rounds out the flavor profile, adding a tangy creaminess that pairs perfectly with the heat of the salsa. If you’re dairy‑free, a coconut‑based sour cream alternative works, though the flavor will shift slightly.
Everything's prepped? Good. Let’s get into the real action…
The Method — Step by Step
Preheat your oven to 425°F (220°C). This temperature is the sweet spot that crisps the outer edge while keeping the interior tender. While the oven warms, line a full‑size sheet pan with parchment paper and give it a light spray of cooking oil—this is the foundation for that perfect golden crust.
In a large mixing bowl, combine the grated Emmental and Cheddar cheeses. Stir them together until they form a uniform, slightly clumpy mass. Add a pinch (about ¼ teaspoon) of baking powder; this tiny lift agent is the secret that prevents the chips from turning into a dense cheese brick.
Kitchen Hack: If your cheese clumps together, warm it gently in the microwave for 10 seconds—this makes it easier to blend.Cook the bacon strips in a skillet over medium heat until they reach a deep, caramelized crisp. Drain on paper towels, then crumble into bite‑size pieces. The aroma at this stage is pure bliss—smoky, salty, and utterly irresistible.
Fold the crumbled bacon into the cheese mixture, ensuring an even distribution. The bacon bits should be visible in every spoonful, promising that smoky crunch in every bite. If you notice any wet spots, pat the bacon dry with a paper towel before mixing.
Using a tablespoon, scoop dollops of the cheese‑bacon batter onto the prepared pan, spacing them about an inch apart. Gently flatten each mound with the back of the spoon to form thin, round chips—think of them as miniature cheese pancakes.
Slide the pan into the oven and bake for 10‑12 minutes, or until the edges turn a deep golden brown and the tops start to bubble. Keep a close eye—over‑baking will turn them into brittle shards, while under‑baking leaves them soggy.
Watch Out: Oven hot spots can cause uneven browning; rotate the pan halfway through the baking time for uniform crispness.Remove the pan and let the chips cool on a wire rack for at least 5 minutes. As they cool, they firm up, achieving that coveted snap when you bite into them. This rest period is crucial—skip it and you’ll lose that perfect crunch.
While the chips are cooling, spoon generous dollops of guacamole, salsa, and sour cream onto a serving platter. Arrange the chips in a circular fashion around the dips, creating a vibrant, colorful display that invites you to dive in.
Serve immediately, or store the chips in an airtight container for up to three days. Reheat in a hot oven for 3‑4 minutes to restore crispness, then plunge back into the dips for that fresh‑out‑of‑the‑oven feel.
Insider Tricks for Flawless Results
The Temperature Rule Nobody Follows
Never underestimate the power of a preheated oven. A fully heated environment ensures the cheese batter sets instantly, creating that coveted edge‑to‑center contrast. If you’re using a convection oven, reduce the temperature by 25°F to avoid over‑crisping. Trust me—once you nail this, every batch will be consistently perfect.
Why Your Nose Knows Best
The moment the chips start to turn golden, your kitchen will be filled with a buttery, slightly nutty aroma. That scent is your cue that they’re ready for the next step. If you rely solely on timers, you risk either under‑ or over‑cooking. Let your senses be the ultimate timer.
The 5‑Minute Rest That Changes Everything
After baking, let the chips rest on a wire rack for at least five minutes. This short pause allows steam to escape, locking in that satisfying snap. Skipping this step is a common rookie mistake—chips become soggy and lose their crunch.
Seasoning at the End
Finish each chip with a light dusting of flaky sea salt just as they emerge from the oven. The salt adheres better to the warm surface, giving each bite a burst of flavor that dances on the tongue. A pinch of smoked sea salt adds an extra dimension without overwhelming the cheese.
Batch‑Size Balancing Act
If you try to cram too many chips onto one pan, they’ll steam instead of crisp. Spread them out, even if it means using two pans. This ensures each chip gets its own space to develop that golden crust.
Creative Twists and Variations
This recipe is a playground. Here are some of my favorite ways to switch things up:
Spicy Jalapeño Kick
Fold finely diced jalapeños into the cheese mixture before baking. The heat will seep into each chip, creating a fiery bite that pairs beautifully with the cooling sour cream.
Herb‑Infused Delight
Add a tablespoon of fresh chopped rosemary or thyme to the batter. The herbaceous notes bring a fresh, earthy flavor that elevates the snack for a brunch setting.
Smoky Chipotle Twist
Swap half of the cheddar for smoked Gouda and stir in a teaspoon of chipotle powder. This gives a deep, smoky flavor that pairs perfectly with a lime‑y avocado dip.
Cheese‑Only Minimalist
Omit the bacon for a fully vegetarian version, and increase the cheese ratio to 1½ cups total. The result is a pure, melty crunch that still satisfies the nacho craving.
Sweet & Savory Fusion
Mix in a tablespoon of finely chopped dried cranberries and a dash of cinnamon into the batter. The subtle sweetness contrasts the salty cheese, creating an unexpected but delightful taste.
Crunchy Nut Topping
After baking, sprinkle toasted almond slivers over the chips for an added crunch and nutty aroma. This adds texture variance and a visual pop.
Storing and Bringing It Back to Life
Fridge Storage
Place cooled chips in an airtight container lined with a paper towel to absorb excess moisture. They’ll stay crisp for up to three days. If you notice any soft spots, pop the container into a 350°F oven for two minutes to revive the crunch.
Freezer Friendly
Lay the chips on a parchment‑lined tray and freeze them in a single layer for one hour. Transfer to a zip‑top bag; they’ll keep for up to two months. When you’re ready, bake directly from frozen at 375°F for 5‑7 minutes.
Best Reheating Method
Reheat on a preheated baking sheet at 375°F for 3‑4 minutes. Add a tiny splash of water (about a teaspoon) to the pan before heating; the steam helps restore the interior softness while the exterior crisps back to perfection.